

My boys are super into Legos. And who wouldn’t be? Legos are the best!
When we finished our basement and added three extra bedrooms to our house, we used one of those new bedrooms as the designated Lego Room, which everyone loves. This means that little toddlers aren’t crawling around putting Legos in their mouths, my kids aren’t leaving Lego pieces ALL over the family room floor, and when the Legos get messy, all I have to do is shut the Lego Room door and walk away. Everyone wins!
Besides the usual things you’d see in a Lego Room–shelves for Lego creations, organizing drawers, and a Lego table–I wanted to put some kind of Lego decor on the walls. As my boys’ love for Legos grew and grew, they started getting more sets for birthdays and Christmases. I gathered up all their new Lego boxes and thought it was such a shame to just throw them away; after all, my boys still liked to look at the colorful pictures on the boxes and see the various arrangements for their sets.
That gave me the idea to turn those Lego boxes into very easy DIY wall art. It’s quick, easy, and turns out really super cute on the wall of a Lego Room. Let me tell you how to do it:
1. Gather Supplies
- Empty Lego set boxes
- Scissors
- Double-stick tape
- 12×12 colored cardstock
- Wall tape
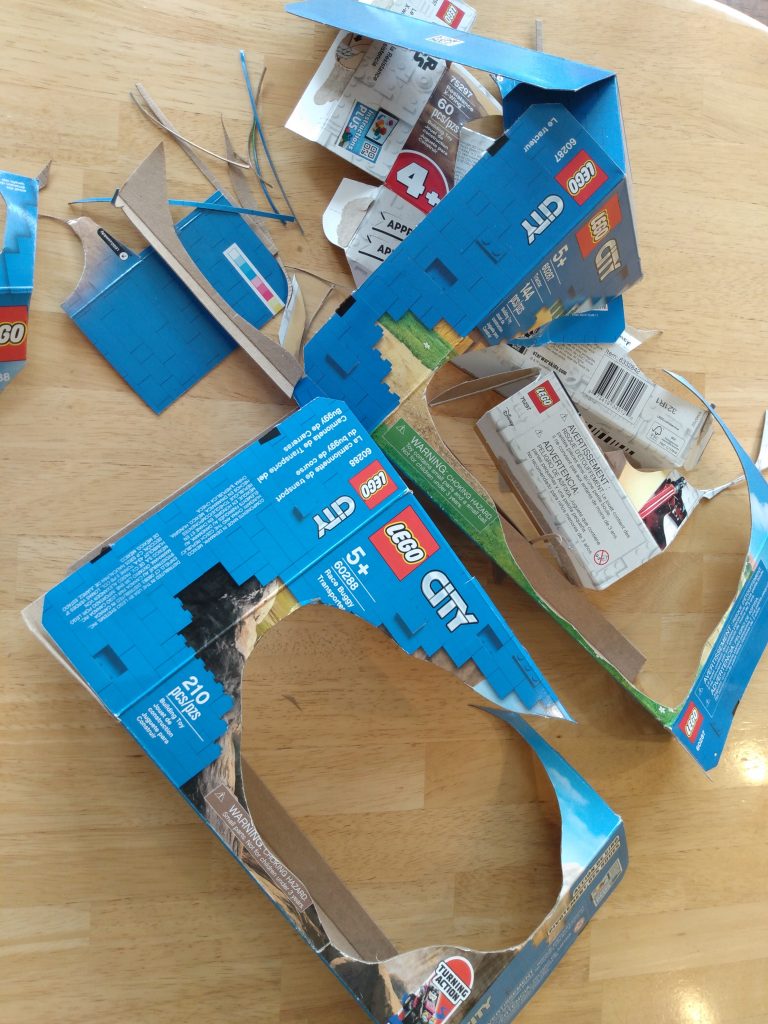
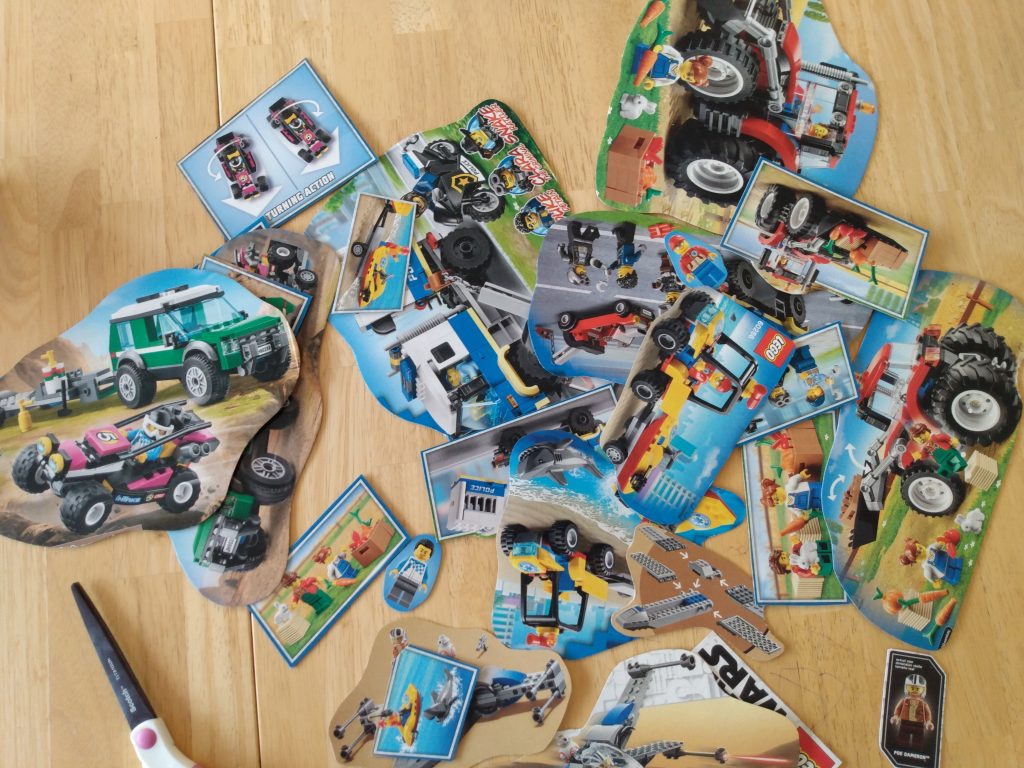
2. Cut Out the Pictures on the Boxes
Gently flatten your box to make cutting easier, then use scissors to cut out all the pictures from all the sides of your box.
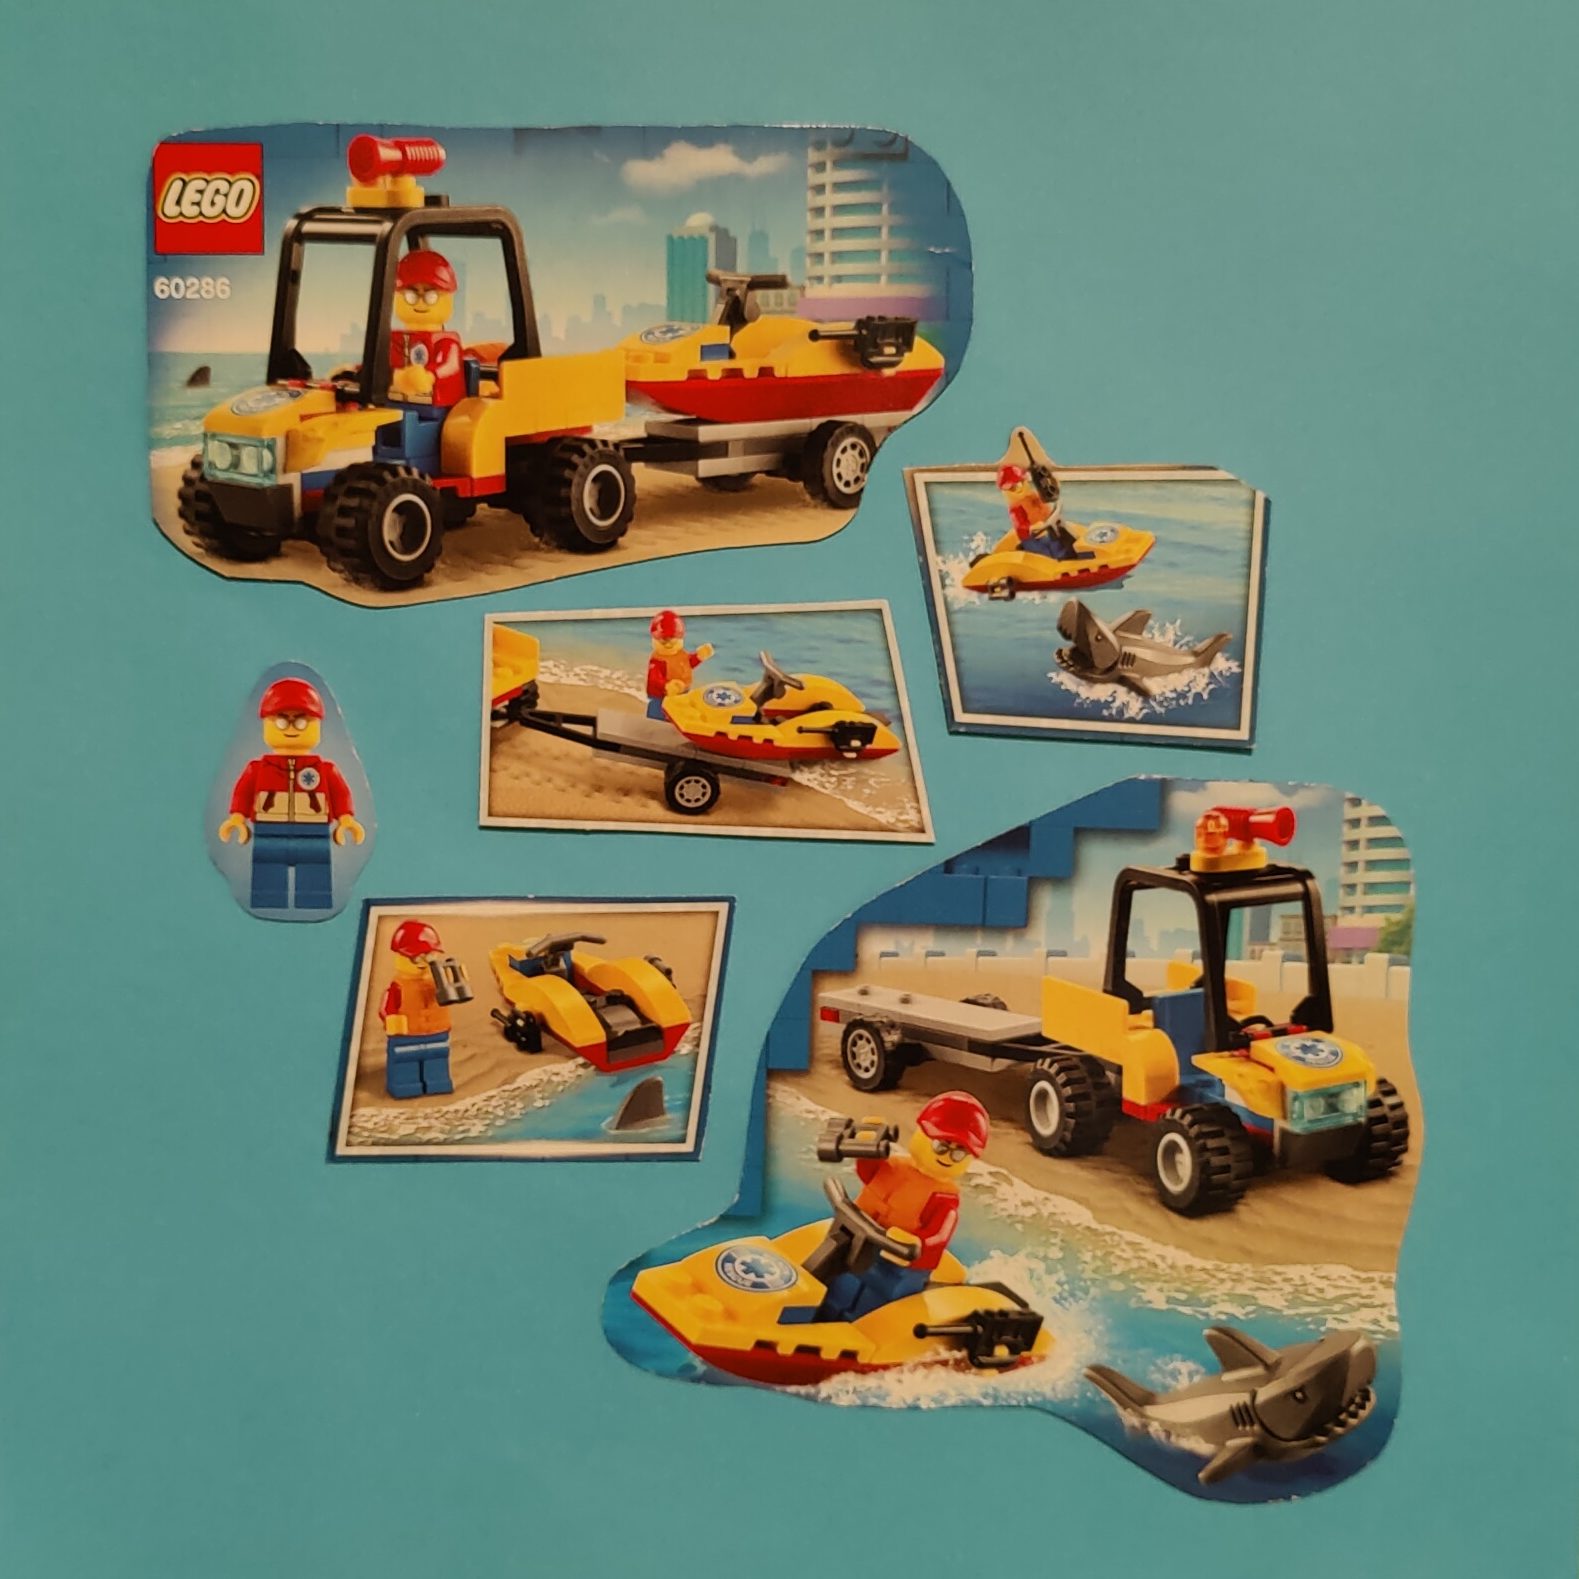
3. Tape the Pictures to Cardstock
Arrange your cutouts onto a coordinating colored 12×12 cardstock. Use double-stick tape to attack the cutouts in place.

4. Mount the Pictures to the Wall
Use wall tape (or another wall-safe adhesive of your choice) and arrange your new art pieces on the wall. I chose to arrange mine in a randomized checkerboard pattern.
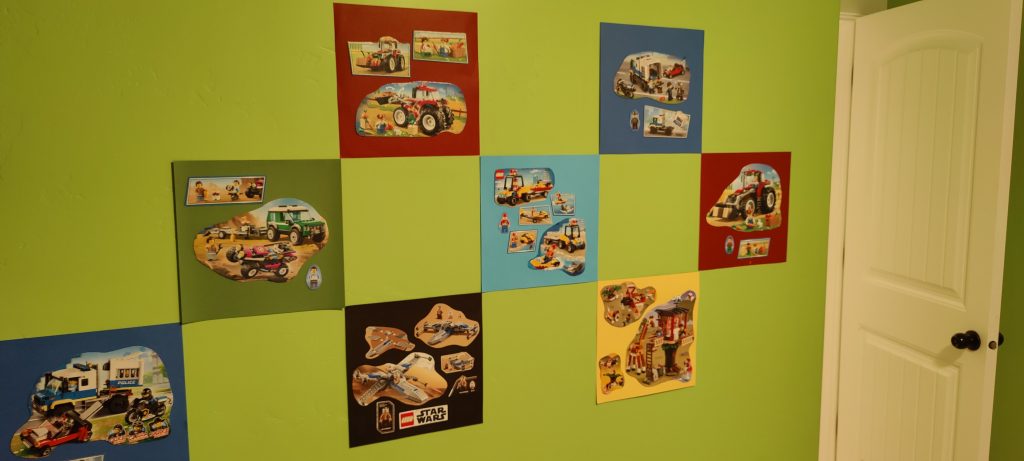
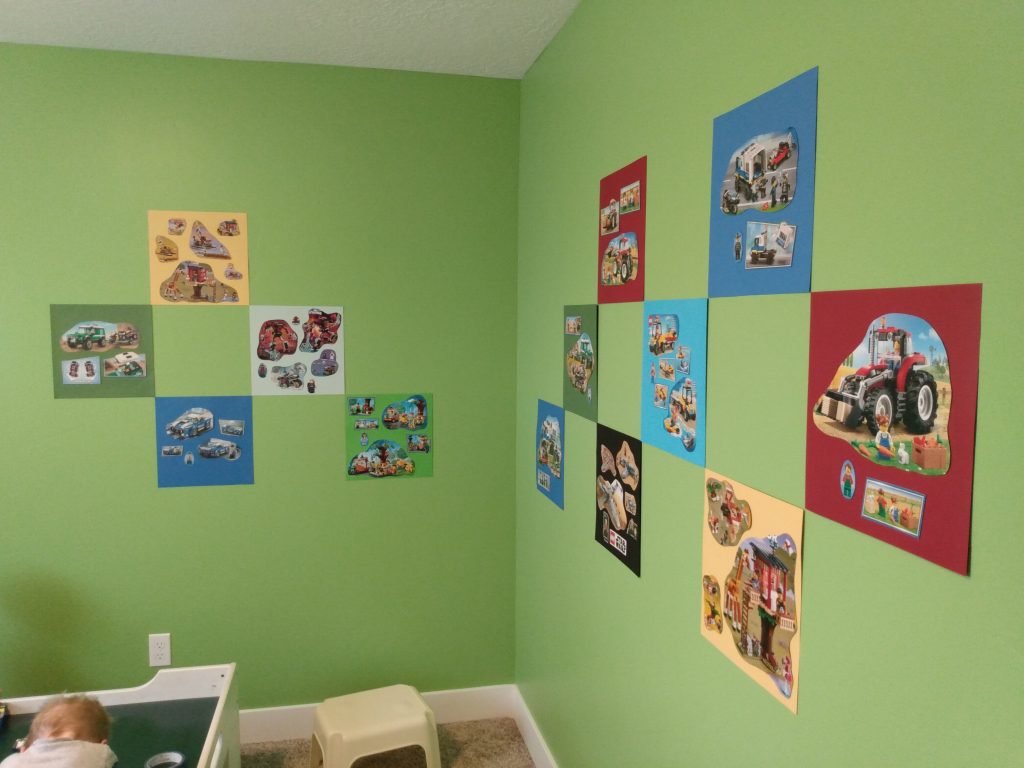
Done and done! Didn’t I tell you this was easy? Best of all, it’s colorful, fun, and really cute on the wall of any Lego Room.