Check out the first and third parts of this series–Part 1: Calendar Time and Part 3: Letter of the Week Activities.
In Part 1 I discussed how my boys needed and benefited from the routine and schedule laid out by a visual calendar that they could see daily and understand. It was a huge help!
Beyond that, I also wanted to review basic preschool topics with my boys. We of course talked about colors and numbers and all that basic stuff throughout our normal day, but I wanted something more formal, something I could track and remember and be sure I was teaching them everything they needed.
And so was born our Learning Board.
Supplies You Need
- A board.
I happened to have this unused cork bulletin board that I’d been saving for my homeschooling future, and here was finally the perfect opportunity to use it. It’s 23×35 inches, just like this one on Amazon.
Side note: my friend also made a learning board for her three-year-old son and we compared and shared all our ideas and printables for it. We both covered all the same basics, but our boards are both beautifully unique and different. She made hers, for example, on a tri-folding display board instead of a cork board like mine. Both have their pros and cons, but I can’t get away without mentioning the biggest pro of her tri-fold vs. my cork board: hers is WAY more portable and storable.
We both also have one-year-old babies, and another issue we discussed about our Learning Boards was how to store our boards safely away from those grabby, destructive, little hands. My solution: I store my board up on a desk and pull it down to the floor solely for our Learning Board time. But it’s not a perfect solution; obviously it takes up quite a bit of space up there on that desk and can be rather heavy and cumbersome to move up and down every day.
Her solution: She simply folds up her lightweight tri-fold and puts it away in a closet when they’re not using it.
But the portability is only one aspect of the tri-fold vs. cork board debate. So think about it and think about what system would work best for you. There’s pros and cons to everything.
- Pushpins.
Obviously with a cork board you need push pins to go with it (if you use a something other than a cork board you still need something to mount and hold your flashcards to it). I used basic pushpins to hold up my decorative string, but I bought these special pushpins with clips on them so I could clip my flashcards onto my board without actually poking holes in them.
- Pointing Sticks.
I already described my Pointing Sticks in my previous post about Calendar Time, so I’ll sum up quickly here. I keep 12-inch dowels in our calendar pocket for pointing and counting to the date. We use the same Pointing Sticks for our Learning Board. Read on to see more examples of how I use them.
- Flashcards.
I hope this one is a given; you need to actually put something to learn on your Learning Board. I’ll describe more fully down below what sort of cards I have on my board.
- Decorative string.
This one is totally optional and I only recently added it to my board, but I love the extra color and formality it adds. I used this cute string I had on hand and pinned it to outline my various flashcards.

- A storage box.
I use a basic, plastic Sterilite box to store all my extra supplies in. Inside are all the extra flashcards, “Build a Pattern” paper strips and stickers, extra pushpins, calendar pieces (unused holidays and month names), and a pencil for marking the backs of certain flashcards (read below to see which ones and why). I pull this box out every Monday to update the board.
What’s on Our Learning Board

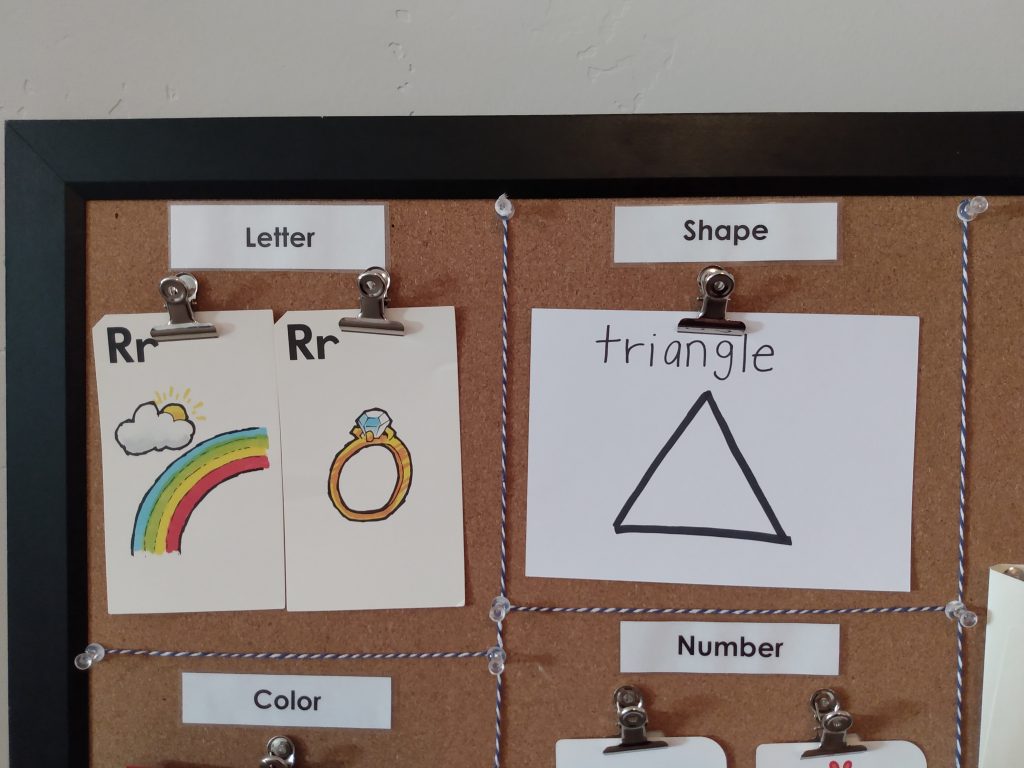
- Letter: I inherited these letter flashcards from my mom. There’s two per letter and they have basic pictures of items that start with that letter, such as “Rr” for rainbow and ring (pictured below).
First we talk about the shape of the letter, something like this: “Big R is made with a long line, bump on top, and then a line sticking out.” Then they’ll repeat and trace on the card with me, “Long line, bump on top, stick out!”
Sometimes we use our Pointing Sticks to draw the letter in the air, or for entirely straight letters we arrange the sticks on the floor in that letter (letters like A, E, F, H, T, V, etc.).
Then we make the sound. “R says rrrrrr like rrrrrrainbow and rrrrrring,” pointing to the flashcards. “What other words do you know that start with the rrrrrr sound?”
My four-year-old is great at this game and usually comes up with all sorts of words. “Run! Race! Rain! Rake! Right!” and we also list any friends or family members we know whose names start with that letter. As a bonus, I also explain that we use the big R for names and the little r for everything else.
- Shape: I made these shape cards myself, simply with a sharpie on 5×7 index cards. I have eight in total that we rotate between: circle, triangle, square, rectangle, star, heart, oval, and octagon.
As much as possible I try to coordinate my weekly shape with that week’s letter. Since we’d already done the rectangle recently, we did the triangle with Rr and listened to me say tRRRRRRiangle, listening for the “rrrrrr” sound in the middle of the word.
Or I specifically made the octagon card for the week that we learned Oo and the octopus to teach that “octo” means eight. Or they might coordinate in other ways; we did the circle when we learned Zz and emphasized, “How many sides does a circle have? Zzzzzzero!”
Like the letter, we talk about the shape and trace it on the card. For round shapes (circle, oval, heart), we draw it in the air with our Pointing Sticks. For straight shapes (square, rectangle, triangle), we arrange our sticks on the floor to make that shape.
Since I only have eight shapes we obviously go through them way faster than we do the 26 letters of the alphabet. I keep a pencil in my storage box and on every Monday, when I switch out the Board for new cards, I make a small tally mark on the back of these shape cards indicating how many times we’ve reviewed them. There are some shapes that simply won’t coordinate at all with that week’s letter, and on those weeks I choose a shape that we’ve learned the least, based on the tally marks on their backs.
- Color: I also made these color cards by cutting out colored cardstock into 4×6 rectangles and writing on them with a sharpie. I have ten colors: red, orange, yellow, green, blue, purple, pink, brown, black, and white.
Like the shapes, I also try to coordinate the week’s color with the letter, if possible. Notice in the below picture that this week we are learning Red with the letter Rr. And like shapes, some colors relate really well; red for Rr, yellow for Yy, etc. I also did blue for Uu (and emphasized the “bluuuuuu” sound) and green for Ee (“greeeeen”).
Also like the shapes, some colors simply won’t coordinate with some letters, and so I also mark the backs of my color cards with tally marks to keep track of which ones we’ve learned the most. Sometimes I let my boys pick a color for that week, and therefore their favorites have way more marks than some of the others.
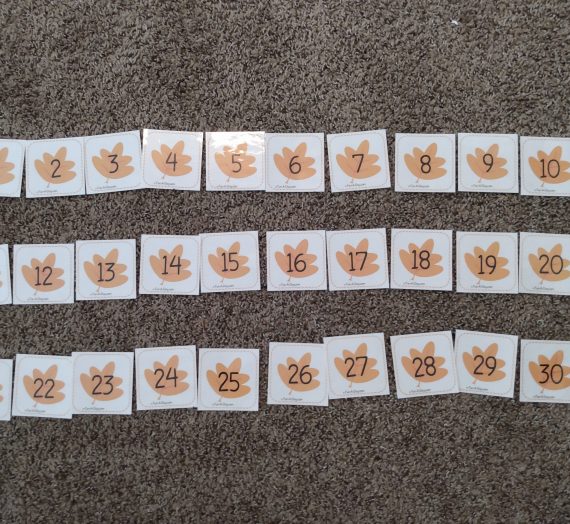
- Number: we were gifted these number flashcards for Christmas last year by my mother-in-law. The set includes two cards for each number, one with the actual number written, and the other with that number of animals. I have the numbers 1-25.
The numbers simply go up every week until we run out and start over at 1 again. Just like the letter, we talk about the shape of the number and usually draw it in the air with our Pointing Sticks. Then we count the animals on the coordinating card.
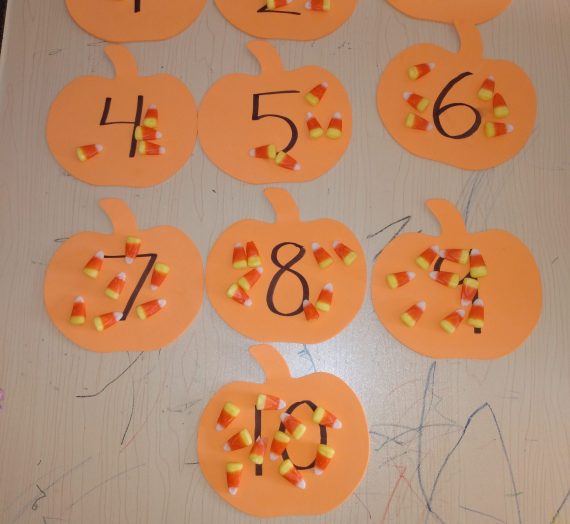
- Build a Pattern: all my research says that recognizing and building patterns is one of the earliest pre-reading skills, and so I really wanted to incorporate patterns into our Learning Board.
It took me some time to decide how to actually do it, and this is what I’ve settled on: on a simple Word document I printed these landscape-oriented rows of dots (I found the dots in the Insert-Symbol section and simply enlarged it to the size I wanted). Then I cut out the rows. Every Monday I put a new, unused row on the board and we pick a new three-color pattern. I bought a big pack of colored dot stickers, which we stick onto the dots in order to form our patterns. Then we repeat and repeat the pattern every day, adding another set of three stickers until it is full.
In the future I’d like to incorporate shape-patterns as well as color patterns, but as we’re just starting these patterns I’m happy to begin with the basics. And my boys have caught on to this concept almost immediately, even my younger one, and they both love sticking the correct stickers on every day.

- Weather: my friend (the same friend who made a tri-fold Learning Board) shared these amazing weather printables with me that I printed and laminated. It contains the following weather options: sunny, partly cloudy, cloudy, rainy, stormy, snowy, and windy.
I pinned a little piece of felt onto my board and stuck a velcro dot onto the backs of each of the weather cards to make them easier to move every single day, instead of my regular flash cards that only move once a week.
However, it didn’t fit on my board in its original format. The printable had a long, landscape-oriented spot to put the weather, but as you can see I didn’t have room for something so long. Plus, I wanted easy access to all the weather cards so we could look for the correct one every single day. And so I cut the flap off an envelope and pinned it onto my board to make the pocket, which is easy and sturdy.
Every day we pull out all the weather cards and lay them on the floor, then we look out the window together and talk about what we see. Then we choose the correct weather card and stick it on its felt.

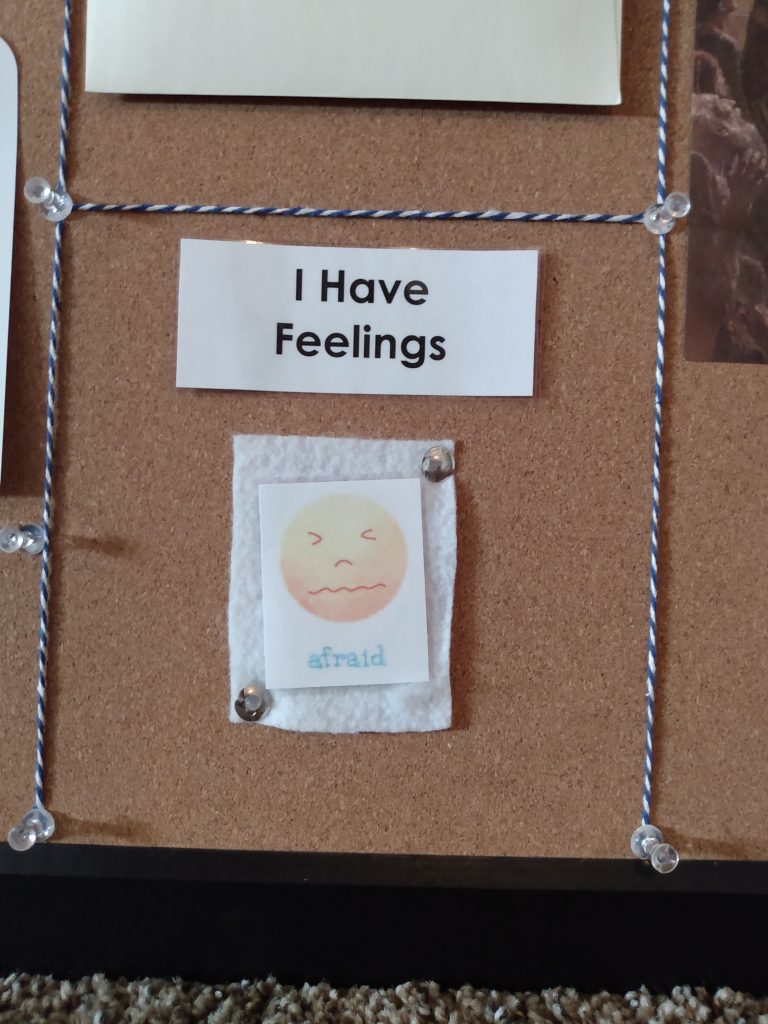
- Emotions: a different friend of mine suggested we study a weekly emotion and I immediately loved the idea. I Googled a printable for emotions and chose this one because I liked the variety of emotions it offered that were interesting but not too complex for my little boys. I have sixteen various emotions that I also laminated and added velcro dots to.
My goal for these weekly emotions is to simply give my boys the vocabulary to express themselves.
I describe what that emotion feels like and then try to give a scenario in which a person might feel that way. This week we are learning “afraid” and I try to list some of the things I’m afraid of: spiders, mostly. But I’m also afraid of my boys getting hurt, I told them, and so I use my fear to drive me to action; I protect my children because I’m afraid of them getting hurt.
Sometimes I worry these conversations might be a little too complex for them, but to their credit they’ve responded really well to our weekly emotions and don’t seem to have a problem so far.
- Come Follow Jesus Christ
I’m a member of the Church of Jesus Christ of Latter-Day Saints. In 2019 the church instigated a new program called “Come Follow Me” that said a bulk of spiritual and religious learning should be done in the home and supported by Sunday-attended church, not the other way around. I was really on board with the idea and really felt it was true; I’m responsible for teaching my boys about Jesus Christ as their mother, not some random Sunday school or seminary teacher.
But I’ll be perfectly honest: I didn’t do great at it that year. I mentioned in my previous Calendar Time post that 2019 was kind of a big year for us, mostly with moving into a new house and bringing Baby #3 into our family. I wasn’t in a really stable position to introduce something else into our lives, such as this new Come Follow Me program.
I sure tried, but I had much more of a hare approach to the whole thing; instead of slow-and-steady-wins-the-race, I had nice little bursts of spiritual energy and did really well for a couple weeks at a time, and then fell off the bandwagon for a while. I played that game all year long, so come 2020 I was determined to do better.
I reanalyzed what I felt my boys actually needed both from me and from this program and how we could achieve that. I felt the answer was that instead of trying to teach one big scriptural lesson on Sunday, as I’d been trying before with varying success, I had to teach little scriptural lessons every single day.
And it just so happened that this was exactly the same time I was putting together my Calendar and Learning Board, and so I thought what better opportunity to incorporate a daily, religious, scriptural story!
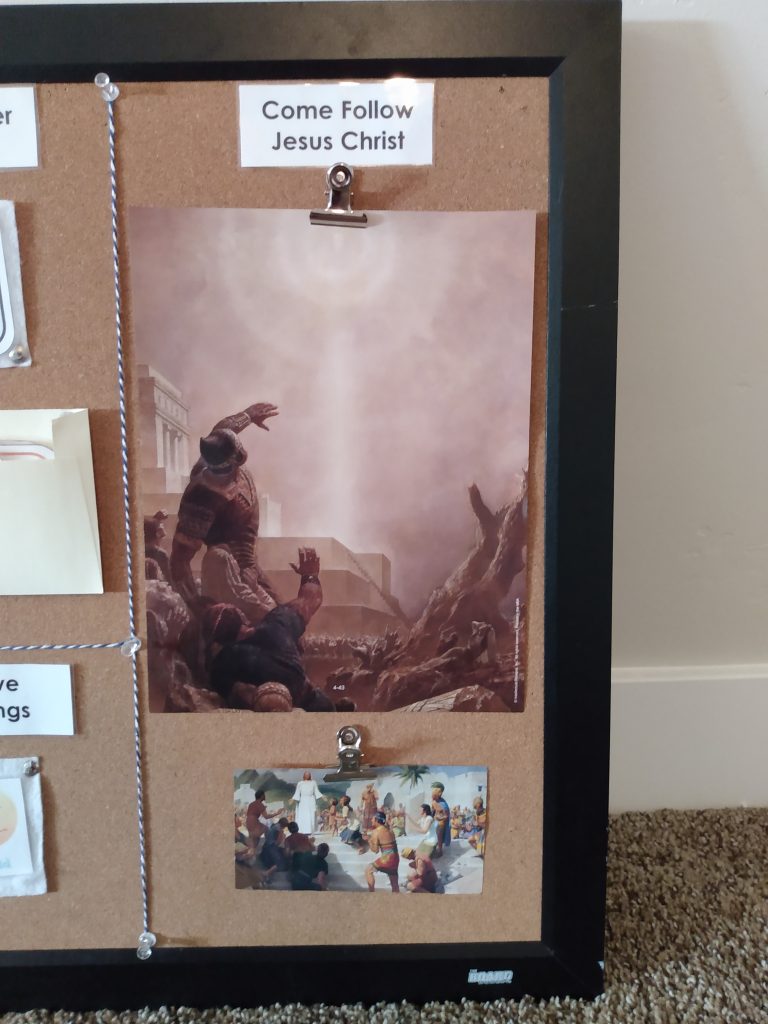
And so I added this section: “Come Follow Jesus Christ.” Note that the church program itself is actually called “Come Follow Me” based on Christ’s regular invitations to do just that throughout the New Testament, but as my young boys aren’t biblical scholars, I didn’t want to confuse them into thinking they were following me Mom, but that we’re actually learning about and following Jesus Christ. That’s why I renamed it.
This year we are studying the Book of Mormon and I just so happen to have a collection of pictures based on the Book of Mormon stories. So every week I pick the appropriate picture to go with that week’s story and post it here. Then every day I tell my boys that story, sometimes gradually adding more throughout the week if the story is particularly long.
Note that I’m not giving full-blown doctrinal lectures here but a basic introduction to what the Book of Mormon is and the stories it teaches. My boys are four and two, remember, and so I tell them four- and two-year-old versions of these stories, shortening and simplifying them as needed. It only takes a few minutes, but they’ve really come to love hearing these stories, for which I’m really grateful.
Overall, I’m doing amazingly better this year in teaching the Come Follow Me lessons to my family than I did last year, and that’s all because I added it to our daily Learning Board.
That’s how I do our Learning Board. We review our Board every day immediately following our Calendar Time. Total, doing both usually only takes about 15-20 minutes.
You can review how I do Calendar Time or check out Part 3 of this series: Letter of the Week Activities.